Owning a Segway Ninebot is exciting. However, it can be frustrating when problems arise, especially if you’re stuck wondering, “Why is Segway Ninebot not charging?” Charging issues are common. But once you know what to check, most can be fixed quickly and easily.
In this guide, I’ll show you 7 common reasons why your Segway Ninebot might not be charging. You’ll learn what each problem means, how it relates to the charger light, and how to fix it. These tips are based on real user experiences, so they’re practical and proven to work.
Why is Segway Ninebot Not Charging?
Here are 7 common causes to check:
1) Poor contact points
2) Faulty charger
3) Loose handlebar cable connection
4) Issues with charging port or battery wires
5) Problems with the Battery Management System (BMS)
6) Dead or damaged battery cells
7) Bad connection between external and internal batteries
Charger Light as a Deductive Factor
The main sign of charging problems with your Ninebot scooter is when it doesn’t charge even after being plugged in for hours. Another helpful clue is the charger’s light, which may blink red or green.
We’ll use the charger light’s behavior below to help you figure out what’s causing the charging issue.
Troubleshooting & Fixing Charging Problems on Your Ninebot Scooter
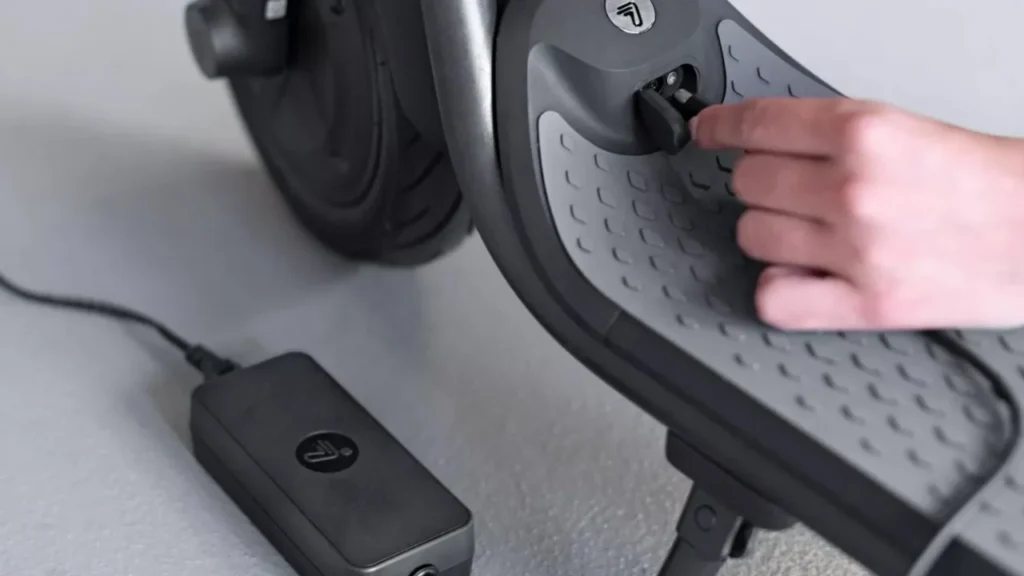
Check for Bad Contact
Unplug and firmly reconnect the charger on both ends. Also, check the connection between the handlebar cable and the scooter, especially if your model has the battery inside the stem.
A loose or bad connection can stop your scooter from charging. Often, simply reconnecting everything solves the problem.
Verify Charger Function and Understand Indicator Lights
Plug the charger into a power source without connecting it to the scooter. If the charger’s light doesn’t turn green, the charger might be faulty. Contact the manufacturer or consider using a replacement.
Try using a different charger if you have one (switch between internal and external brick chargers if possible).
If the charger shows a green light while connected but the scooter still won’t charge, the problem could be with the battery, Battery Management System (BMS), or wiring.
If the charger light and charging status don’t match, check both the charger and the scooter’s charging port for issues.
Disable Lock Mode and Update Firmware
Turn off Lock Mode before charging your scooter. Also, keep your scooter’s firmware up to date.
Lock Mode can block charging, and firmware updates often fix software glitches that affect charging.
Check Wire Connections Between Charging Port and Battery
Use a multimeter to test the wires connecting the charging port to the battery. This helps spot broken or faulty wiring.
Connect one multimeter probe to the charging port and the other to the battery terminals. If the connection isn’t continuous, wiring issues might be causing the problem.
Consider Temperature and Possible Main Board or BMS Failure
Don’t charge your scooter immediately after riding. The battery may be too hot. Let it cool down before plugging it in. Batteries and BMS work best at optimal temperatures.
If the charger light stays green but the scooter doesn’t recognize the charger, the Main Board or BMS might be faulty. Replacing the Main Board can fix this.
If charging gets stuck at 70% or 80%, it usually points to a BMS or battery cell issue. Use the Ninebot Flasher app to reset the BMS and fix software-related charging problems.
Inspect Software and Physical Battery Cells
If the charger light stays red for a long time, it’s time to check the battery itself.
Use the Nine Dash app on Android to connect to your scooter and check battery health, especially the cell status.
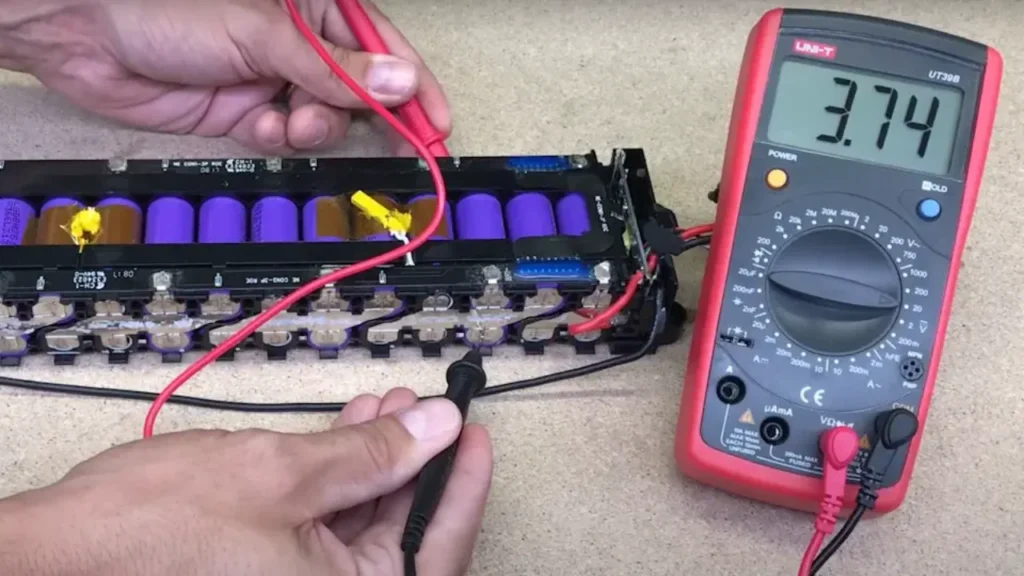
With the M365 Tools app, check individual cell voltages. All cells should have similar voltages. Big differences mean a faulty cell.
You can also open the scooter and use a multimeter to test each cell physically. Defective cells won’t hold a charge and need replacing.
Check External Battery and Its Connection
Make sure the external battery is securely connected to the scooter. Inspect the charging board and BMS for loose wires.
Try removing the external battery and charging the internal battery alone. If the internal battery charges fine, the problem is likely the connection between the batteries.
This is a common issue on models like the ES and E22 that use external batteries. A tight connection is essential for proper charging.
By following these steps, you can identify and fix most charging problems with your Segway Ninebot. This will help you get back to riding smoothly and without interruptions.
- Also Read: How to Fix Ninebot Scooter Charging Problems
Conclusion
In conclusion, solving Segway Ninebot charging problems requires a step-by-step approach. Start by checking for bad contacts, faulty chargers, and wiring issues. The charger light can help you identify problems with the battery, BMS, or connections.
Make sure the charger is working properly and turn off Lock Mode before charging. Also, double-check that the connections between internal and external batteries are secure.
By following these simple steps, you can fix most charging issues and enjoy a smooth, hassle-free ride.