Do you want to remove the speed limiter on an electric bike? Look no further because you have come to the right place.
In recent years, e-bikes have become very popular because of their enjoyable, eco-friendly, and efficient urban commuting capabilities. Electric bikes usually come with speed limiters to comply with local regulations, but some riders desire greater speed and performance.
If you want speed beyond the manufacturer-imposed limits, then you must know how to remove the speed limiter.
This article is your comprehensive guide to unlocking the full potential of your electric bike by safely removing the speed limiter. In this guide, we will explore various methods and techniques to remove the speed limiter on an electric bike.
Let’s embark on this journey to enhance your electric biking experience!
- Also Read: Make Your E-Bike Faster
- Also Read: Weight of E-Bike
- Also Read: License for E-Bike Riders
- Also Read: Types of E-Bikes
Understanding the Benefits of Removing the Speed Limiter
There are different benefits of removing the speed limiter from your electric bike. It enables you to travel at a faster speed and cover greater distances in a shorter time. You can enjoy the thrill of cycling at high speed and save time.
Another advantage of removing the speed limiter from your electric bike is the enhanced control it provides during your ride. You can smoothly navigate through busy traffic.
The overall performance of your e-bike improves after removing the speed limiter, which results in improved riding experience.
Choosing the Right Tools for the Job
You will need various tools to remove the speed limiter from an electric bike. It will also depend on the make and model of your e-bike. The most important tools include pliers, screwdrivers, diagnostic equipment and some other tools, depending on the type of speed limiter installed.
It is crucial that you have all the required tools ready before starting the process. Keep in mind that using the wrong tools can cause damage to your e-bike or injure you.
Taking Safety Precautions During the Process
You must prioritize safety when removing the speed limiter from your electric bike. Always wear suitable safety gear, including gloves and protective eyewear. You should also handle the tools with care and precision.
Make sure you have adequate knowledge about the internal components of your bike before you begin the process. Disconnect the battery and remove the cover or any parts of the bike only when it’s necessary, and do it very carefully.
This approach will help you minimize risks and ensure a safe and successful procedure.
Before Disabling the Speed Limiter
An electric bike offers you a significant advantage over a traditional pedal bicycle because it utilizes a motor for assistance. This feature enables you to achieve higher average speeds, which makes your journey to the destination faster and more convenient.
However, there are strict safety regulations in place to prevent riders from traveling at speeds deemed unsafe on the roads.
For safety considerations, the CPSC recommends a maximum speed of 20mph for a 750 watts powered e-bike with a rider weighing 170 pounds on paved level surfaces. The state laws also govern the usage of electric bikes within traffic regulations, with specific speed limits established.
For example, in states like New York, electric bike speed limits are set at 30 mph or less on highways. Different speed limits may apply when using e-bikes on smaller roads or sidewalks.
There are certain disadvantages to removing this feature from your e-bike despite the allure of disabling the speed limiter for a thrilling ride.
Breaking the law: The speed limiter is crucial for maintaining safe riding speeds because it ensures the rider’s and other road users’ safety. If you remove it, you could be fined for violating speed regulations.
Default on the warranty: Removing the speed limiter can affect the bike’s operation and potentially cause irreparable damage. E-bike manufacturers may void the bike’s warranty if such modifications lead to issues.
Structural damage: Riding at higher speeds can exert excessive pressure on your e-bike. This compromise its structural integrity because they do not design it for speeds beyond a certain limit. It can lead to faster motor burnout, which reduces the overall lifespan of your electric bike.
Now that you are aware of the disadvantages of disabling the speed limiter, let’s explore the various speed limiter removal methods.
Step-by-Step Guide to Removing the Speed Limiter
With all the essential tools and safety measures ready, proceed to remove the speed limiter from your electric bike by following this step-by-step guide:
- Start by disconnecting the battery on your e-bike.
- Identify the speed limiter and get access to its settings.
- Use the tools to disable or modify the speed limit settings according to your needs.
- Double-check everything and proceed to reassemble your e-bike.
- Reconnect the battery and conduct a test to ensure that your e-bike is functioning correctly without the speed limiter.
How to Remove the Speed Limiter on an Electric Bike?
Electric bikes are required to have a built-in speed limiter to comply with regulations. This limiter automatically cuts off the e-bike motor once it reaches its maximum speed.
There are three different methods to remove the speed limiter from your Shimano, GoCycle, or any other electric bike. You should evaluate the advantages and disadvantages of each method before proceeding. It will help you determine the most suitable method to remove the speed limiter on your e-bike.
Hands-on Method
Electric bikes designed for adults and teens have diverse features because manufacturers strive to create unique branding for each e-bike. One aspect that varies between e-bike brands is the built-in speed limiter function. Hands-on method to remove the speed limiter involves manipulating the speed data transmitted from the bike’s built-in sensor to the central controller.
You can control the speed data to the sensor by relocating the rear wheel magnet to a different position on the e-bike. Reattach the magnet to the pedal brackets and reposition the sensor closer to the magnet, facing it upside down. This arrangement increases the distance between the two devices and reduces the signals sent to the sensor.
When you move the magnet away from the wheel, a signal is sent to the central controller that indicates the e-bike is operating at a lower frequency. Consequently, the motor continues to function at a higher speed.
Another method to increase the speed of your e-bike is to replace the original rear wheel magnet with a stronger neodymium magnet. One advantage of this approach is its simplicity, which makes it accessible to individuals without technical expertise.
Additionally, it causes minimal damage to the e-bike and can be easily reversed if you wish to restore the magnet and sensor to their original positions. However, it’s worth noting that this method may not be compatible with all types of e-bikes.
Sensor Wiring Method
This method involves disconnecting the wiring that links the built-in sensor to the e-bike’s electrical system. Most e-bike users tend to avoid this method due to its complexity and irreversibility in case of errors.
You cut the wiring that connects the sensor to the central controller of the bicycle. This enables you to effectively interrupt the flow of data to the motor and bypass the limiter.
For this method, we strongly recommend you to take your e-bike to a specialized workshop that deals with electric bikes. A skilled technician there will be familiar with the correct wire to cut and prevent costly mistakes.
Keep in mind that this technique results in a permanent modification to the bike’s system and leads to the revocation of your warranty.
It is great to have an electric bike that eliminates the effort of pedaling, but it’s crucial to ensure that you can handle the higher speeds safely when the limiter is not in use.
Using a Tool Kit
In response to e-bikers’ demands for higher speeds, manufacturers are now offering electric bike tool kits specifically designed to manipulate the speed limiter. Using these tool kits requires a certain level of technical expertise and a willingness to invest some money because they are not cheap.
These tool kits enable you to modify the speed data, similar to the hands-on method. There are two types of tool kits available:
Type 1: This tool kit disassembles the circuit of the electric bike. It is important to disconnect the electric bike’s battery when using this type of tool kit.
Type 2: The second tool kit attaches to the sensor. It doesn’t require dissembling the circuit. The tool kit disables the bike’s sensor as soon as you begin riding.
These tool kits offer you a viable option to unlock your electric bike’s speed potential. You can choose either of them depending on your comfort level with technical modifications.
How to Remove Speed Limiter on Bosch Motor
It is frustrating for passionate e-bike enthusiasts to face the speed limit on their Bosch e-bikes. Fortunately, it is relatively straightforward to bypass this limitation, but it requires the right tools and knowledge. However, Bosch takes measures to restrict their e-bike software to certified dealers, which is a challenge for independent riders.
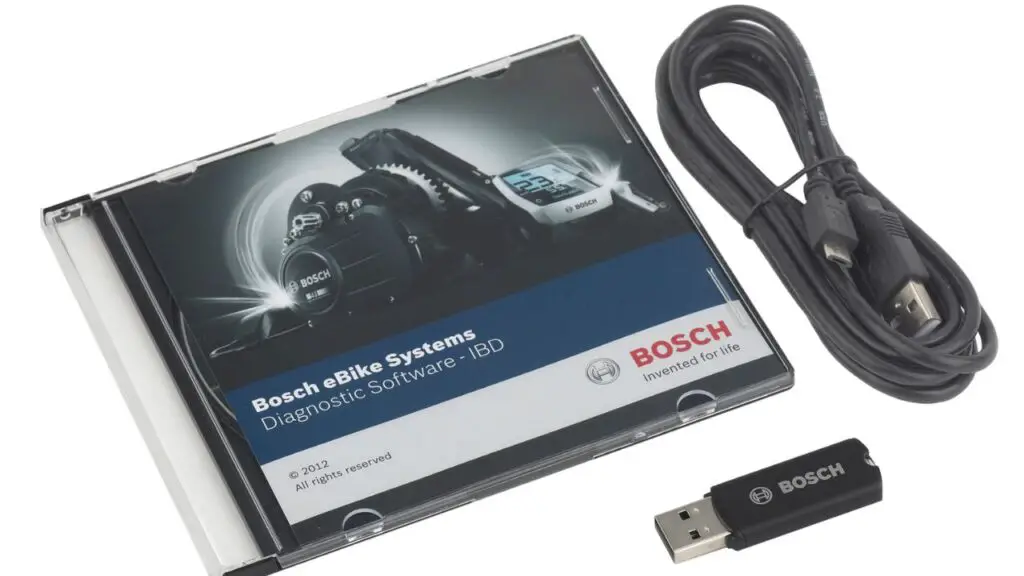
To begin, you will need access to the specialized Bosch Diagnostic Tool. It gives you access to the bike’s programming settings where you can modify the speed limiter.
Earlier, this tool was available for purchase on platforms like eBay, but it is not available on such platforms anymore. It seems that Bosch wants to keep it off the internet.
If you are serious about removing the speed limiter, consider contacting local bike shops that sell e-bikes equipped with Bosch motors. Ask them if they have the Bosch Diagnostic Tool. If they do, follow below steps to adjust the maximum speed:
- Connect the diagnostic tool to your electric bike’s computer. You can do this by plugging the tool into the bike’s diagnostic port, which is situated near the battery or motor.
- Turn on the e-bike and allow the diagnostic tool to establish a connection.
- Navigate to the “Speed Limit” setting. You can find it in the “Advanced Settings” or “Programming” menu.
- Disable the speed limiter by setting the value to “off.”

It’s crucial you remain cautious when removing the speed limiter. Electric bikes are capable of reaching high speeds, and riding at excessive velocities can significantly raise the risk of accidents and injuries.
Always prioritize safety by wearing a helmet, adhering to traffic laws, and remaining aware of your surroundings when riding your electric bike.
Remember that removing the speed limiter may have legal implications depending on your location. Certain areas enforce specific speed limits for e-bikes, and tampering with the limiter might lead to fines or other penalties.
Therefore, it’s imperative to research the laws applicable to e-bikes in your area before attempting to remove the speed limiter on your Bosch e-bike. Safety and compliance should always be your top priorities when modifying your e-bike settings.
How to Remove Speed Limiter on Heybike Mars
If you own a Heybike Mars electric bike, you must be familiar with its robust and efficient capabilities. It is suitable for both daily commutes and leisurely outings. However, its speed limitation may make you desire for higher speeds.
Fortunately, the process of removing the speed limiter on Heybike Mars is straightforward. It allows you to unleash the complete potential of your Heybike Mark E-bike.
To disable the speed limiter on your Heybike Mars, follow these simple instructions.
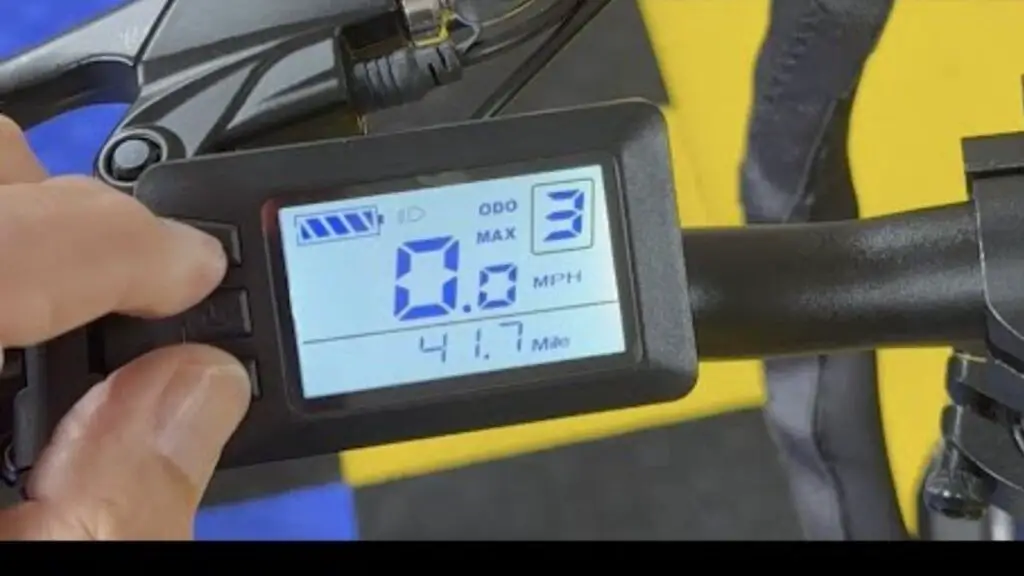
- Locate the LCD display on your bike, which is on the handlebars. The screen provides you with vital details such as speed, battery life, and distance traveled.
- Simultaneously press the power button along with the “+” and “-” buttons. This action will lead you to the settings screen, where you can deactivate the speed limiter. This step is crucial, and you must execute it accurately to successfully remove the speed limitation.
- Once you have accessed the settings screen, look for the option to turn off the speed limiter. The option’s labeling might differ depending on your Heybike Mars model. A little exploration will help you recognize it. Simply toggle it to the “off” position after you find it.

Once you deactivate the speed limiter, remember to save your changes and exit the settings screen by pressing the power button again. Your Heybike Mars will now be unrestricted by the speed limit. It will enable you to enjoy swifter and more exhilarating rides.
It’s important to know that bypassing the speed limiter could have legal implications depending on your place of residence. We advise you to research the local laws and regulations to ensure compliance and safety before proceeding.
In short, removing the speed limiter from your Heybike Mars is a straightforward process that empowers you to experience the full potential of your electric bike. By following the above steps, you can enjoy faster and more thrilling rides while maintaining safety and legal adherence.
If your Heybike Mars electric bike has a hardware-imposed speed limiter, you can find it near the rear wheel of the bike. This small device is attached to the bike’s frame and connects to the motor. It regulates power input and consequently limits speed.
Conversely, if your electric bike relies on software for its speed restriction, the limiter is within the bike’s computer system. You must access the bike’s firmware to deactivate the limiter. Connect the bike to a computer and use specialized software to modify the firmware.
It’s important to know that disabling the speed limiter without proper knowledge can be hazardous. Over speeding beyond the bike’s design can lead to accidents and injuries. Seek professional help if you are unsure about handling this process.
Keep in mind that certain regions have regulations governing electric bike usage. In some cases, disabling the speed limiter might be illegal, leading to penalties. Prior to any action, make yourself familiar with the local laws and their potential consequences.
You must first recognize the type of speed limiter on your electric bike before proceeding to deactivate it. Whether it is hardware or software-based, find its location and the risks associated with removing it. Make sure you prioritize safety and follow the local laws for a legal and safe riding experience.
How to Remove Speed Limiter on Bafang Motor
As an electric bike enthusiast, you know the limits a speed limiter puts on your Bafang motor. The speed limiter is there for your safety, but it could frustrate you if you want to explore the full potential of your e-bike.
Fortunately, it is straightforward to remove the speed limiter on your Bafang motor. You can do it yourself!
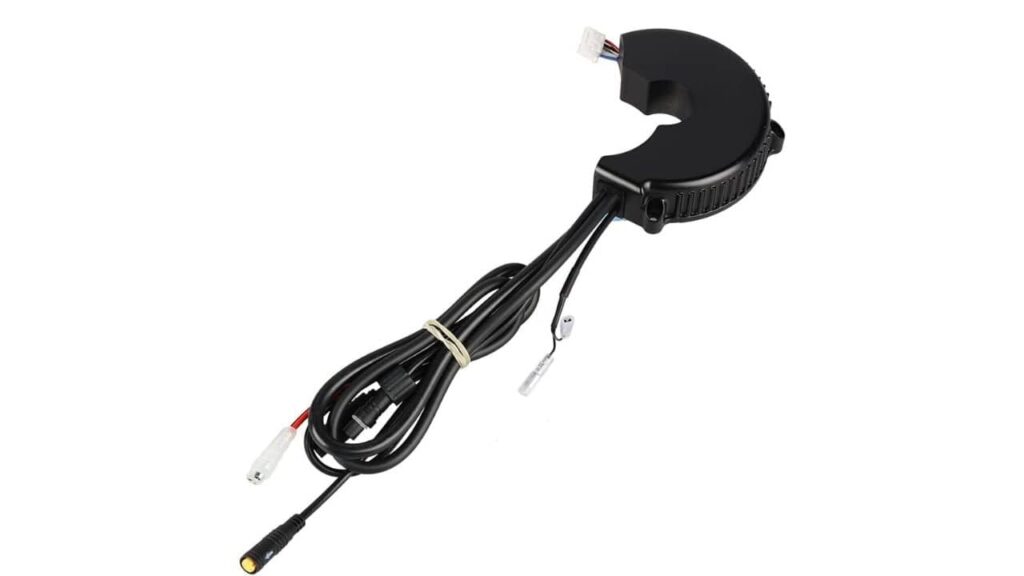
The first step to remove the speed limiter on your Bafang motor is to access the controller settings of your e-bike. You will need to remove the battery pack and controller for it. Once you remove them, you can now view the speed controller and its connecting wires linking to the e-bike.
It is important to remember that opening the controller of your e-bike can be dangerous. So, you should always take necessary safety precautions like wearing eye wear and protective gloves. Make sure your electric bike is powered off and disconnected from any power source.
Once you reach the controller, look for the speed limit settings. You can find them in the advanced settings menu. The speed limit settings are labeled differently on different Bafang motor models. You can easily find them with a little search.

After you have found the speed limit settings, you can completely disable it or set it to your desired speed. This will enable you to reach higher speeds and enjoy faster rides. However, keep in mind that removing the speed limiter can be dangerous. You must always wear safety gear when riding your electric bike.
The process of removing the speed limiter from your Bafang motor is quite simple, but you must have the basic tools and some knowledge. You can enjoy more thrilling rides on your electric bike if you follow the above-mentioned steps and take safety precautions.
Troubleshooting Common Issues
Just like any mechanical process, removing the speed limiter from your electric bike could lead to unexpected complications. The most common problems are error messages, complications with the LCD panel, and change in motor performance.
If you face such issues, it’s best to consult your bike’s manual or contact an expert technician for guidance and support.
Conclusion
There are several advantages of removing the speed limiter on an electric bike. You get to enjoy higher speed, better control, improved performance, and faster ride. However, you should always prioritize safety. Always use the right tools and the correct procedure to remove the speed limiter.
In case you face any issues, refer to your electric bike’s manual or consult a qualified and experienced technician.
Now you know how to remove the speed limiter from your electric bike, so you are all set to enjoy the thrill of high-speed rides.
Keep in mind that this action might invalidate your warranty and breach regulations in some countries. Do it at your own risk!
Frequently Asked Questions
How do I remove the speed limit on Shimano STEPS?
The Shimano STEPS electric bikes are programmed to have a maximum speed of up to 15.5 mph or 25 kph. If you want to increase the speed limit, you must modify the firmware settings in the bike’s drive unit. For this task, you will need a laptop/PC with an ANT+USB dongle.
You will need Shimano’s E-TUBE Project software to make changes. Once you connect the PC/laptop, ANT+USB dongle, and the drive unit, start the E-TUBE Project application. This software allows you to make direct adjustments to the speed limit of your electric bike. It also lets you change other parameters, such as maximum torque output.
This software also uploads and stores the ride data to Shimano’s cloud service. After you have made the changes, be sure to save the new settings before disconnecting the PC/laptop and ANT+USB dongle from the drive unit. Now your electric bike has a higher speed limit.
How to remove the speed limit on a GoCycle G4
The GoCycle G4 is originally programmed to have a speed limit of 15 mph or 25 kph. One way to remove the speed limiter on a GoCycle G4 electric bike is to use the GoCycle App to adjust the speed parameters. It involves a few steps that you can find in the bike’s user manual.
Another method to remove the speed limiter is to use a third-party controller module. You can buy these modules online, and they are easy to install. Keep in mind that tampering with the speed limit may have implications for your warranty. We advise you to consult a professional mechanic before making any modifications.
There is another way to increase the speed limit of your GoCycle G4 electric bike without tempering with the bike’s internal components. You can do this by increasing the gearing ratio, tire pressure, and wheel size.


Pingback: 10 Best Electric Bikes Under $1500 in 2023