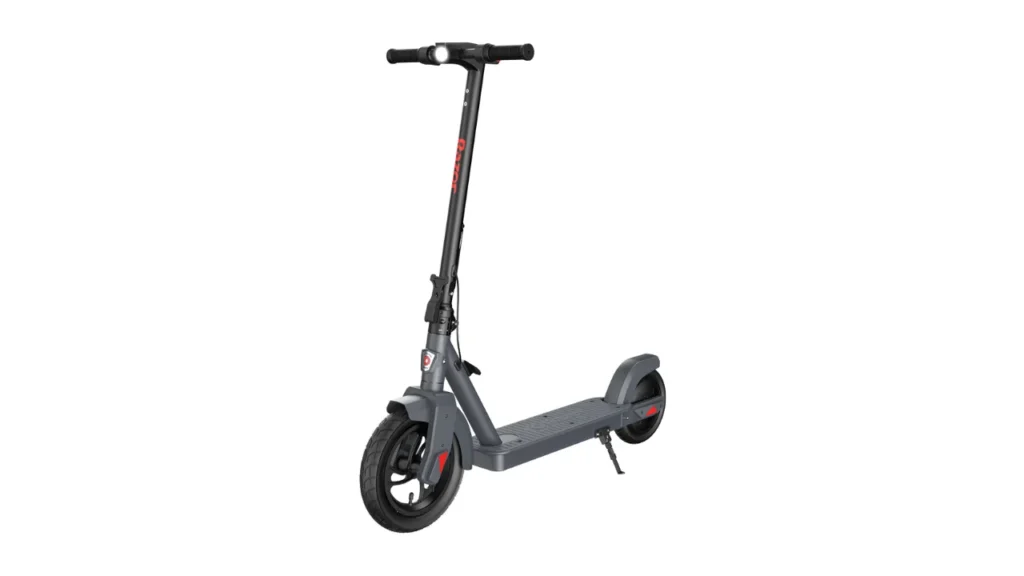
Many riders run into the same problem: Razor e-scooter not charging. This issue is common and can be frustrating, but most of the time, it’s easy to fix.
In this article, I’ll show you the most common battery and charging problems Razor scooter owners face. You’ll get simple troubleshooting steps, practical charging tips, battery safety advice, and smart ways to help your battery last longer.
Charging Guidelines for Your Razor E-Scooter
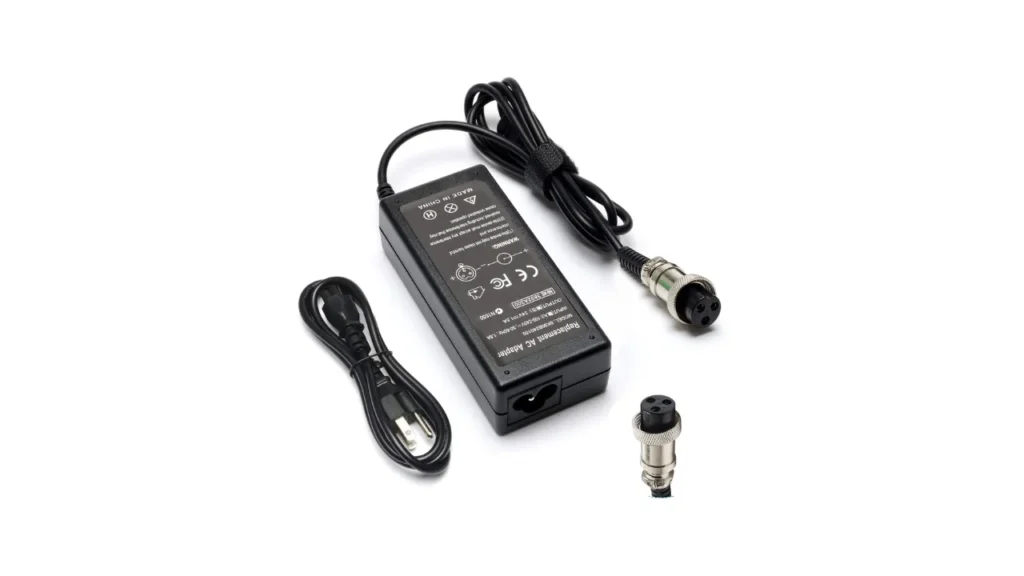
First, make sure your charger is plugged in the right way. Line up the notch on the charger plug with the notch on the scooter’s charging port, then connect it firmly.
Let your scooter charge for at least 8 hours. The Razor recommends 8 hours, but I suggest leaving it plugged in for up to 24 hours if you want a full charge and better results. Remember, some Razor models may need anywhere from 8 to 12 hours to charge completely.
Battery Safety for Razor Scooters
Razor scooters use lead acid batteries. These need regular charging, even if you’re not riding. Charge the battery every three to four weeks when the scooter is not in use. If you leave it uncharged for too long, the battery can lose power and may not recover.
Where you store your scooter matters too. Never keep it in freezing temperatures, as cold can permanently damage the battery. Always store your scooter in a place with moderate temperature to keep the battery healthy.
- Also Read: Razor E-Series Reset Button Not Working
Razor E-Scooter Not Charging? Here’s What’s Happening
If your Razor electric scooter won’t charge, you’ll usually see one of three charger light patterns: red, green, or flickering. Each means something different.
Red Light: Check both the battery and charger. One of them might be faulty.
Flickering Red and Green Lights: This often signals a problem. Inspect the battery and charger carefully for issues.
Green Light But No Charge: Try resetting your scooter first. If it still won’t charge, check the battery, fuse, and reset button. You might need to replace the battery.
These quick checks can help you find the problem fast and get your scooter back on the road.
Troubleshooting Razor Scooter Charging Issues: Step-by-Step Fixes
Follow these steps to fix most Razor scooter charging problems quickly and safely:
Check the Charger
Test the charger pins for continuity. Focus on the two silvery pins inside the connector. If there’s no continuity, the charger might be faulty.
Reset the Scooter
Hold the reset button for 5 seconds. You’ll find it on the side of the deck, right next to the On/Off button.
Inspect Fuses and Reset Button
Open the scooter deck by unscrewing it. Remove the battery bar screws to access the reset button. Disconnect the wires from the reset button pins.
Use a multimeter to check continuity on the 20-amp reset button. Replace it if it’s bad. Some Razor models have a 30-amp fuse—replace that if needed.
Check the Charger Port
Test the three pins in pairs for continuity. Each pair should show continuity.
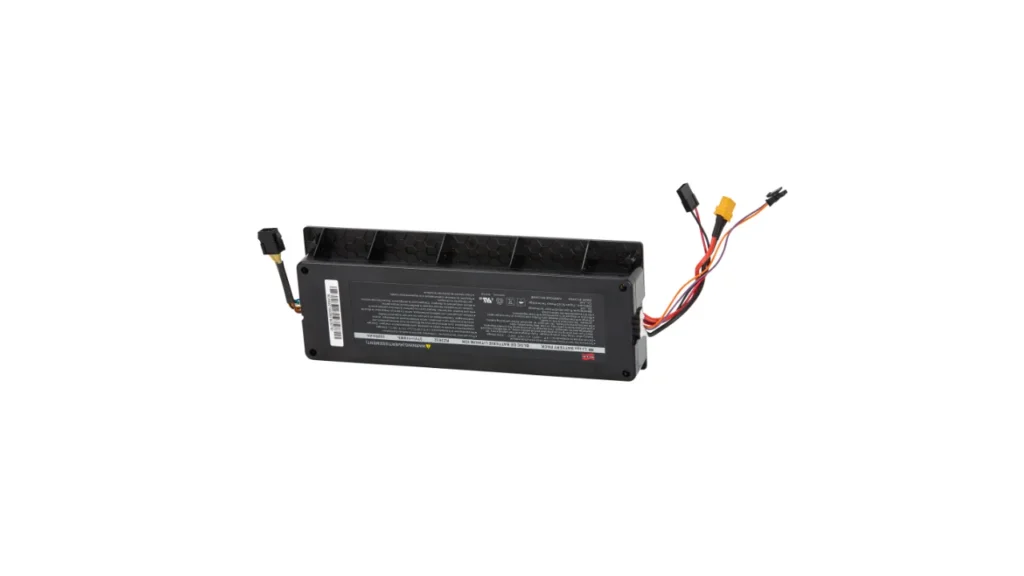
Test the Battery Voltage
Disconnect the red and black battery wires. Use a multimeter to check voltage. It should read between 24 and 26 volts.
Add Distilled Water to Batteries
For lead acid batteries, remove the upper cover and six rubber caps to access battery cells. Add distilled water to keep electrolyte levels right.
Replace the Batteries
If nothing else works, replace the batteries. Open the deck, remove battery bar screws, and swap in new genuine batteries.
Replace the Controller
This is a last resort. Razor scooters rarely have controller issues. The controller won’t work if the voltage supply is unstable. Check all other parts first before replacing the controller.
- Also Read: How to Charge Razor Scooter Without Charger
Where to Find Razor Scooter Replacement Parts
Getting replacement parts for your Razor scooter is easy. Websites like ElectricScooterParts offer genuine parts like reset buttons, batteries, fuses, and controllers.
Replacing parts is simple, even if you’re not tech-savvy. These sites provide clear instructions and user-friendly designs, so you can keep your scooter running smoothly without any hassle.
Advanced Tips to Maximize Your Razor Scooter Battery Life
Follow these tips to keep your battery healthy and your scooter running longer:
Keep It Cool: Heat kills batteries fast. Always store your scooter in a cool place when you’re not using it.
Charge Smart: Charge your battery often, but don’t overcharge. Too much charging causes heat and shortens battery life.
Use the Right Charger: Always use a charger with the correct voltage and amperage. Cheap or wrong chargers damage your battery.
Check Your Scooter Regularly: Look for loose wires, damaged connections, or wear and tear. Fix issues early to avoid bigger problems.
Use a Battery Tender for Storage: If you’re storing your scooter for a long time, use a battery tender. It keeps the battery charged without overdoing it.
- Also Read: How to Prevent Electric Scooter Theft
Conclusion
Charging problems with Razor e-scooters need smart troubleshooting and regular care. This guide gives you simple fixes and practical tips to keep your scooter running smoothly.
By following the charging rules, battery safety advice, and advanced tips here, you’ll extend your battery life and enjoy a better ride every time.