Gotrax scooters are popular, but they are not without problems. A common issue users face is this: “Gotrax scooter charged but not working.” The battery appears full, but the scooter won’t turn on or respond.
If you’re dealing with this issue, you’re in the right place. This step-by-step guide will show you what’s wrong and how to fix it.
First, make sure your Gotrax e-scooter battery is actually charged and functioning. This is the most important thing to check before doing anything else.
By the end of this guide, you’ll be able to inspect your Gotrax scooter and possibly fix the issue yourself. You won’t need a technician.
Power Button and Safety Features
Power Button Issues
Make sure you’re pressing the power button the right way. Some Gotrax scooters turn on instantly with a single press. Others need you to hold the button for a few seconds. If it doesn’t power up right away, try holding it down a bit longer.

Safety Features
Check that the kickstand is up. The scooter won’t turn on if it’s down—that’s part of the built-in safety design. It’s there to prevent the scooter from accidentally powering on and causing injury or damage.
Brake Lever Sensor
Make sure you’re not pressing the brake lever when turning the scooter on. Most models won’t start if the brake is engaged. In some scooters, this lever is also connected to regenerative braking, which helps recharge the battery while riding.
- Also Read: How to Make Gotrax Scooter Faster
Kick-Start and Acceleration
Gotrax scooters won’t start moving just by pressing the throttle. You need to give them a small push first. This is called kick-start and it’s built into the design on purpose. You have to push the scooter to about 3 mph before the throttle kicks in.
It’s not just a quirk, but a smart feature that protects the motor and battery. It also makes the ride feel smoother when you start accelerating.
- Also Read: Gotrax G3 vs G3 Plus
Additional Troubleshooting Steps
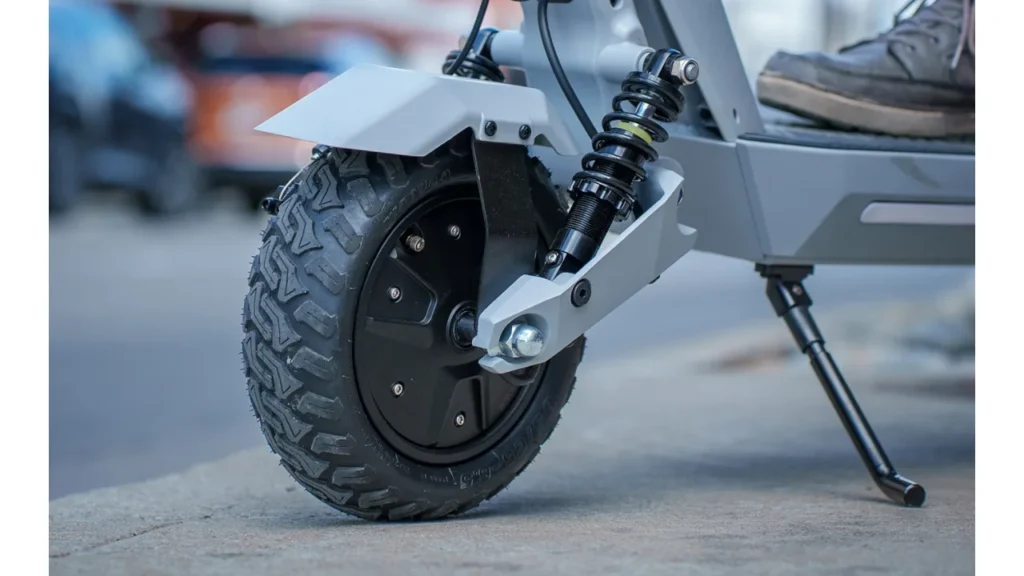
Check the Front Wheel Cable
The front wheel cable does more than just carry electrical signals. It helps keep your scooter stable and safe. Make sure it’s firmly connected and that all screws are tightened. A loose or damaged cable can affect how your scooter handles while riding.
Inspect for Damaged Pins
Take a good look at the pins on the battery pack and handlebars. If they’re dirty, bent, or corroded, your scooter might not work properly. These tiny parts play a big role in how reliable your scooter is over time, so don’t ignore them.
Clean the Pins Properly
Use a clean cloth, cotton swab, or a bit of isopropyl alcohol to gently clean the pins. This isn’t just about keeping things tidy. It prevents electrical issues that can stop your scooter from working. Clean pins mean a smoother, more reliable ride.
- Also Read: Gotrax Scooter Turns on But Won’t Move
Throttle Examination and Replacement
Check the Throttle
Opening up the throttle controller might feel a bit technical, but it helps you understand how your scooter works. It also gives you the chance to spot problems early, before they turn into bigger issues.
Align the Hall Sensor
The hall sensor is a small but important part of your throttle system. Make sure the black sensor is lined up with the magnet correctly. This alignment is key to smooth acceleration and quick response.
Use a Multimeter
After putting the throttle back together, use a multimeter to test it. This simple step helps you see if your throttle is sending the right electrical signals to the scooter. It basically checks if your input is reaching the motor.
Replace the Throttle (if needed)
Sometimes, the best fix is a new throttle. If you’ve tried repairs but still face issues, it might be time for a replacement. Knowing when to replace worn-out parts is essential for keeping your scooter running at its best.
- Also Read: How to Reset Gotrax Scooter
Controller Examination and Replacement
Preliminary Checks
Safety is crucial during the initial checks. Always remember that electrical hazards can be a real risk. Approach maintenance with a safety-first attitude to protect yourself while troubleshooting.
Multimeter Continuity Check
Using a multimeter for continuity checks helps you spot any electrical issues. It also teaches you how electrical circuits work. This gives you the knowledge to troubleshoot problems more effectively.
Controller Replacement
Finding the controller is more than just locating a part. It’s understanding how this central unit controls your scooter’s operations. Knowing its role helps you grasp how all the components work together.
Disconnecting Components: Disconnecting wires and cables requires care and precision. Pay attention to every detail to avoid mistakes during the replacement process.
Removal of Existing Controller: Taking out the old controller involves more than unscrewing it. It’s like removing the brain of the scooter. This process helps you appreciate how everything is interconnected.
Placement of New Controller: Installing a new controller isn’t just about replacing a part. It’s about upgrading your scooter’s responsiveness and performance. You’ll notice the difference once it’s in place.
Reconnecting Wires and Cables: Reconnecting the wires is a critical step. It restores the communication between components. Understanding how everything connects gives you a better view of how your scooter works.
Assembling the Scooter: Putting the stem or deck cover back is more than just cosmetic. It’s the final step of a careful process that you’ve been part of. It’s rewarding to see your work come together.
Specific Consideration for Certain Models (e.g., Apex)
Some models, like the Apex, may require extra steps, such as removing the rear wheel. Check your scooter’s manual to understand the specific requirements for your model and how it might differ from others.
Final Checks
After the replacement, perform a thorough inspection. Look for loose connections and make sure all parts are securely in place. These checks ensure your scooter stays reliable and lasts longer.
Motor Examination and Replacement
Motor Inspection
When inspecting the motor, always prioritize safety. Hands-on tasks can involve hazards, so take the necessary precautions. Approach the inspection carefully and be aware of potential risks.

Identify Motor Location
Locating and removing the motor cover is more than just finding the right spot. It’s about understanding the core of your scooter’s propulsion system. This step helps you appreciate the compact yet powerful motor that drives your scooter.
Connect Directly to DC Source
To check if the motor is working, connect it directly to a DC source. If the motor doesn’t respond, it’s time to replace it.
Motor Replacement
Select a Replacement: Choosing the right replacement motor is crucial. Understand the motor’s specifications and compatibility to ensure it enhances your scooter’s performance. This decision plays a big part in improving the scooter’s functionality.
Installation Steps: Installing the new motor requires more than just mechanical skills. It’s an opportunity to develop your expertise in scooter maintenance. As you integrate the new motor, you’ll gain a better understanding of your scooter’s design and the role you play in maintaining it.
Conclusion
This guide is here to help users facing the frustrating issue of a fully charged Gotrax scooter that won’t turn on. It walks you through each component and provides clear steps to diagnose and fix the problem.
The goal isn’t just to fix your scooter. It’s about giving you the knowledge and confidence to take control of your scooter’s maintenance. As you follow these DIY inspection and repair steps, you’ll gain a deeper understanding and connection with your scooter. This will make your ownership experience smoother and more informed.